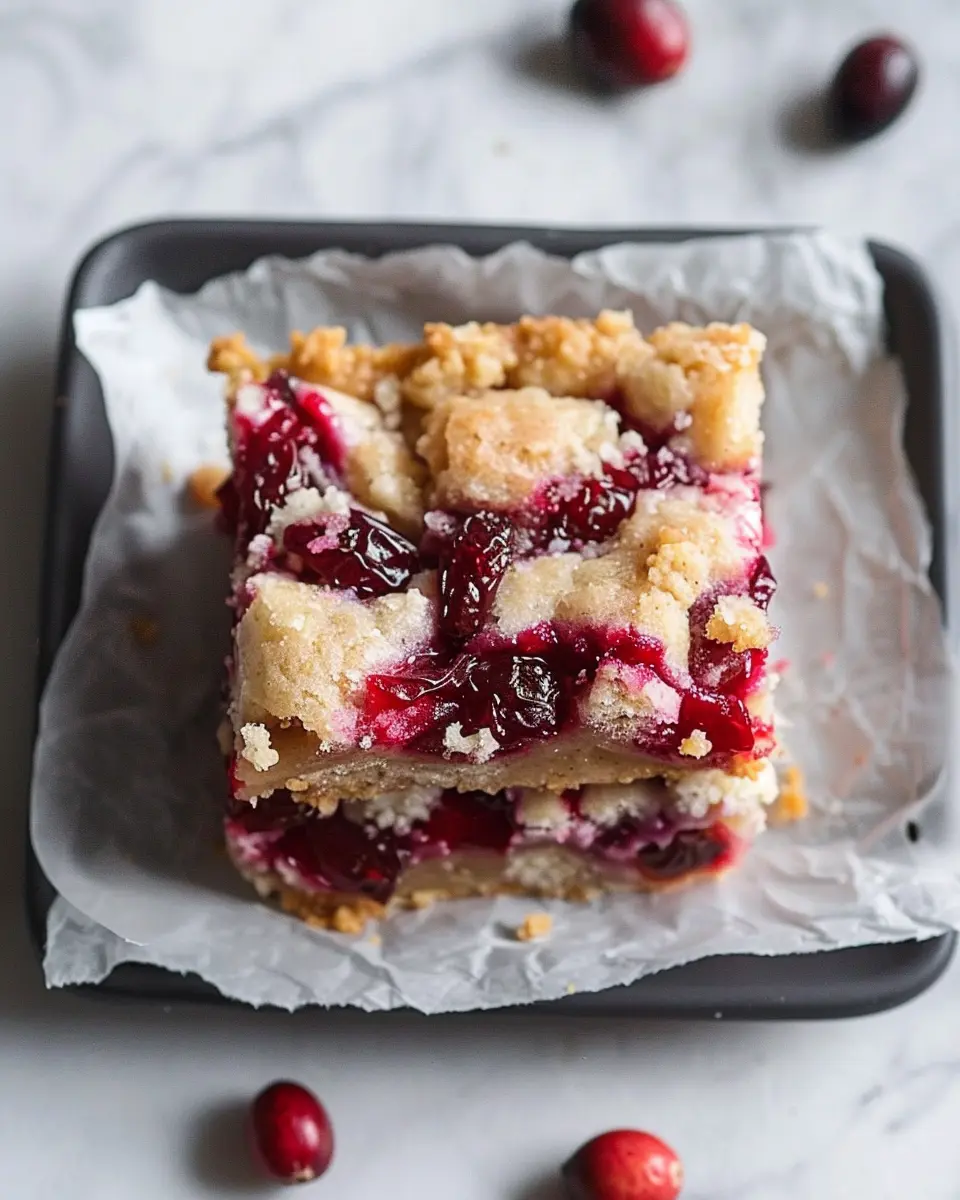
Introduction to Pumpkin Pie Bars
Why You’ll Love Pumpkin Pie Bars
When the leaves start to turn and the air gets that crisp autumn feel, you know it’s time to indulge in seasonal treats. Pumpkin pie bars are a perfect way to enjoy all the luscious flavors of classic pumpkin pie in a fun, convenient bar format. Imagine rich pumpkin puree, warm spices, and a buttery crust all packed into a slice you can enjoy on the go!
One of the best aspects of pumpkin pie bars is their versatility. Whether you serve them as a dessert at a fall gathering, a sweet addition to your brunch spread, or simply as an afternoon snack with your favorite coffee, they’re destined to impress. Not to mention, they are incredibly easy to make! Just mix, spread, and bake—it’s almost too simple.
Let’s dive deeper into what makes these bars a must-try this season.
-
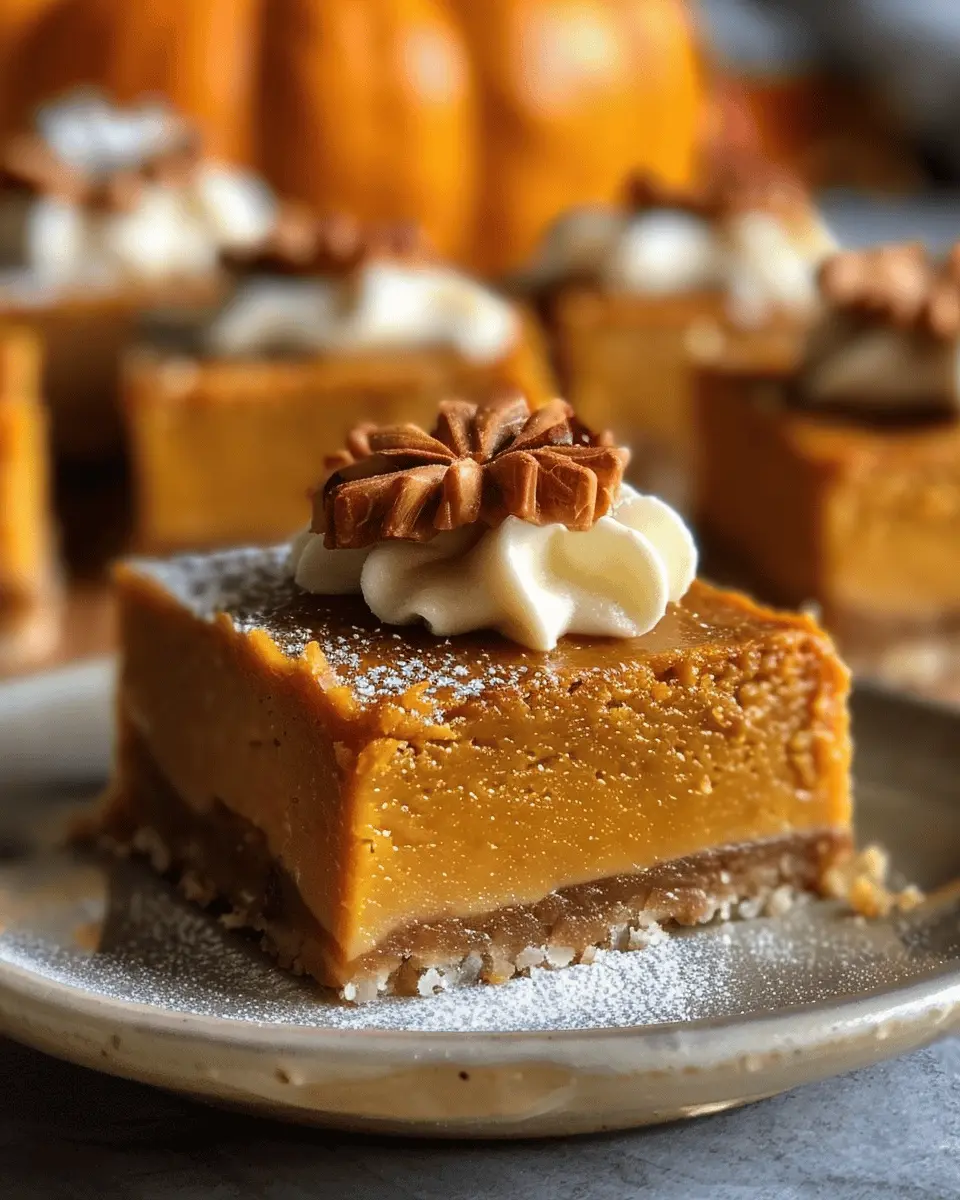
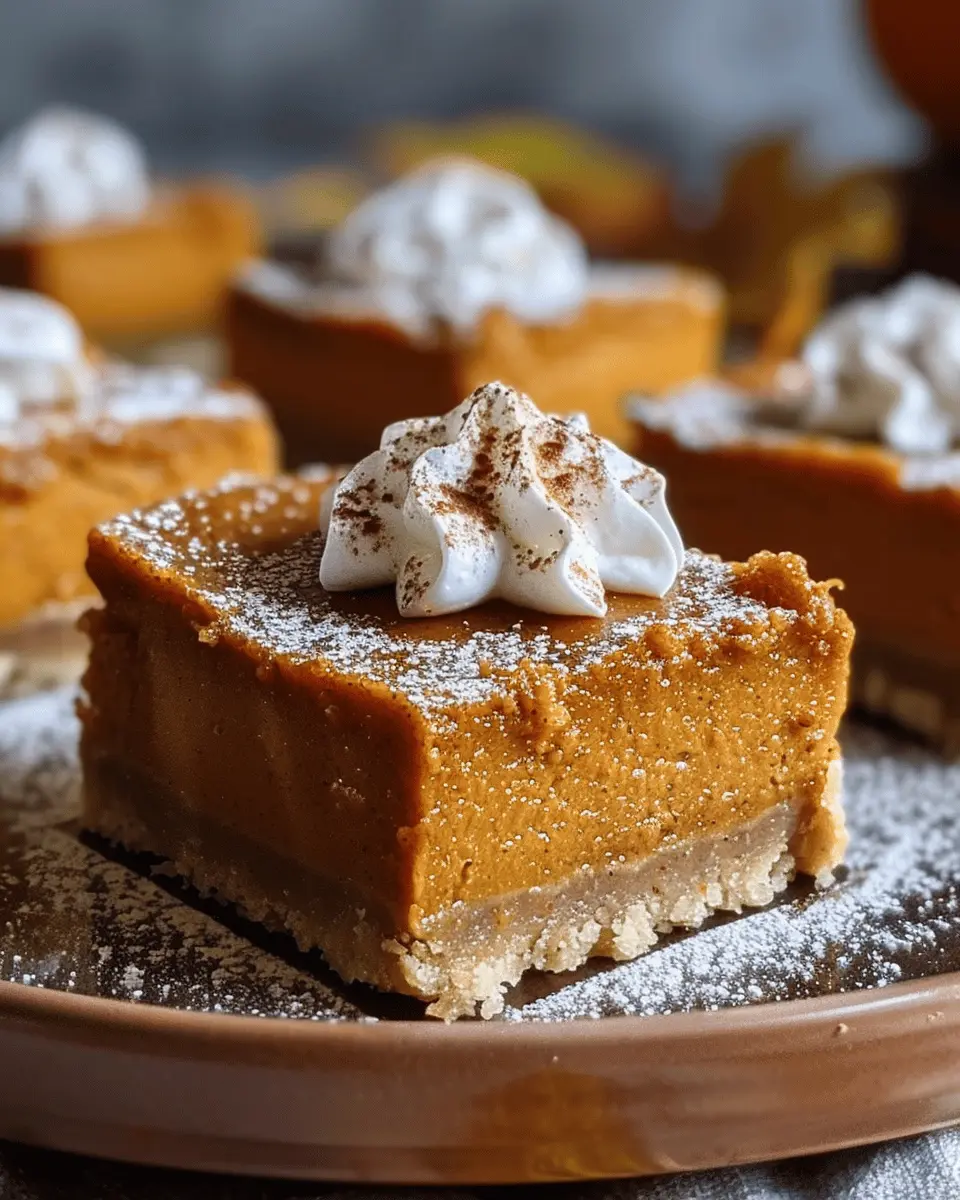
Texture and Flavor: The creamy, spiced filling contrasts beautifully with the soft, crumbly crust. Each square not only satisfies your sweet tooth but offers that delightful pumpkin flavor we all crave in the fall months.
-
Nutritional Benefits: Pumpkins carry an array of health benefits! They are rich in vitamins A and C, plus they offer a good source of fiber. So while we enjoy these tasty treats, we’re also treating our bodies well—the perfect excuse to indulge.
-
Make Ahead Convenience: Planning a gathering? Pumpkin pie bars can be made ahead of time and stored in the refrigerator or freezer. This not only saves you time but ensures you’ll have an impressive dessert ready to impress guests whenever needed.
If you’re looking for ways to incorporate more seasonal flavors into your diet, these bars are a great starting point. Check out sources like EatingWell to find more delicious pumpkin recipes that are easy to try!
In conclusion, golden, spiced, and utterly delectable, Pumpkin Pie Bars are destined to become your new fall favorite. So, gather your ingredients and get ready—these treats will not only warm your heart but will also elevate your autumn baking game!
Ingredients for Pumpkin Pie Bars
When craving the comforting flavors of fall, these Pumpkin Pie Bars are the perfect solution! Not only are they delicious, but they also come together with just a few simple ingredients. Let’s break down what you’ll need.
Ingredients for the Crust
A delicious crust serves as the foundation for our Pumpkin Pie Bars. Gather these:
- 1 ½ cups all-purpose flour
- ½ cup unsalted butter, softened
- ⅓ cup brown sugar
- 1 tsp vanilla extract
- ¼ tsp salt
This buttery crust is easy to make and complements the filling perfectly.
Ingredients for the Filling
The heart of your Pumpkin Pie Bars lies in the rich, spiced filling. Here’s what you’ll need:
- 1 can (15 oz) pumpkin puree
- ½ cup granulated sugar
- ¾ cup sweetened condensed milk
- 3 large eggs
- 1 tsp ground cinnamon
- ½ tsp ground ginger
- ¼ tsp ground nutmeg
- ¼ tsp ground cloves
This combination not only tastes amazing but also provides a lovely texture.
Ingredients for the Topping
To elevate your Pumpkin Pie Bars, add a delightful topping. You’ll need:
- ½ cup chopped pecans or walnuts
- ½ cup whipped cream (optional for serving)
- A sprinkle of cinnamon
The crunchy nuts add a satisfying contrast to the smooth filling. Want to make it extra special? Consider drizzling some caramel sauce on top!
With these ingredients, you’re just steps away from enjoying homemade Pumpkin Pie Bars. Be sure to check your local market for fresh nuts or organic pumpkin puree to enhance your baking experience! Happy baking!
Step-by-step preparation of Pumpkin Pie Bars
Making Pumpkin Pie Bars is like welcoming a warm hug in dessert form, especially as the leaves begin to change. Whether you’re prepping for a holiday gathering or just want a cozy treat, these bars are incredibly easy to whip up. Let’s get started on this delightful journey!
Preheat and prepare the baking dish
Before diving into the fun parts, it’s essential to set the stage.
- Preheat your oven to 350°F (175°C). This ensures even baking.
- Grab a 9×13 inch baking dish and coat it with cooking spray or line it with parchment paper for easy removal later. You want those crisp edges without the struggle!
Taking these initial steps sets the tone for a smooth baking experience, making cleanup a breeze. And who wouldn’t appreciate easy cleanup, right?
Make the graham cracker crust
Now, let’s kick things up a notch with the graham cracker crust. This is where the magic begins!
-
Ingredients:
-
1 and ½ cups of graham cracker crumbs
-
½ cup of unsalted butter, melted
-
⅓ cup of sugar
-
Instructions:
- In a medium bowl, combine the graham cracker crumbs, melted butter, and sugar. The mixture should resemble damp sand.
- Press this mixture evenly into the bottom of your prepared baking dish.
- Bake for about 10 minutes until lightly golden. This creates a fantastic base for your Pumpkin Pie Bars and amplifies that comforting flavor.
The smell that wafts through your kitchen during this step? Pure heaven!
Whisk the pumpkin filling
While the crust cools, it’s time to prepare the scrumptious pumpkin filling.
-
Ingredients:
-
1 can (15 oz) of pure pumpkin (not pumpkin pie filling)
-
¾ cup of sugar
-
½ teaspoon of ground cinnamon
-
¼ teaspoon of ground ginger
-
¼ teaspoon of nutmeg
-
¼ teaspoon of salt
-
4 large eggs
-
1 cup of evaporated milk
-
Instructions:
- In a large mixing bowl, whisk together the pumpkin puree, sugar, and spices until well combined.
- Add in the eggs one by one, mixing thoroughly after each addition.
- Slowly pour in the evaporated milk while continuing to whisk until you have a smooth, creamy filling.
Did you know that pumpkin is not only delicious but also packed with vitamins A, C, and E? It’s an incredible way to add nutrition to your dessert!
Combine layers and bake
Now for the fun part!
- Pour the pumpkin filling over the baked graham cracker crust, ensuring it spreads evenly.
- Bake in your preheated oven for 20-25 minutes, or until the edges are firm, but the center still has a slight wobble.
Keep an eye on those bars, as the transformative process of baking brings everything to life!
Cool and slice the bars
Patience pays off here. Once your bars are done baking, remove them from the oven and let them cool for about 30 minutes at room temperature. Then, transfer them to the refrigerator to chill completely.
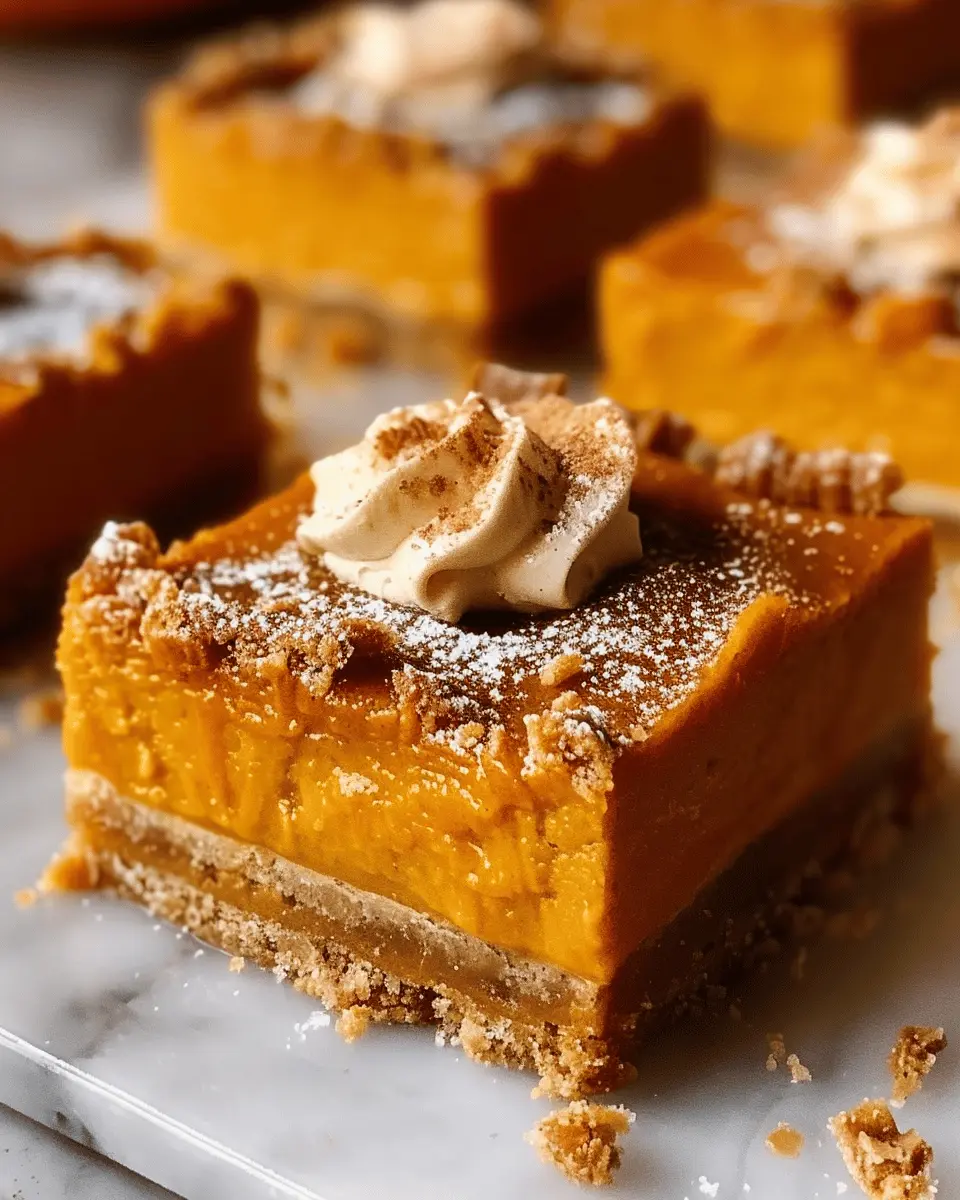
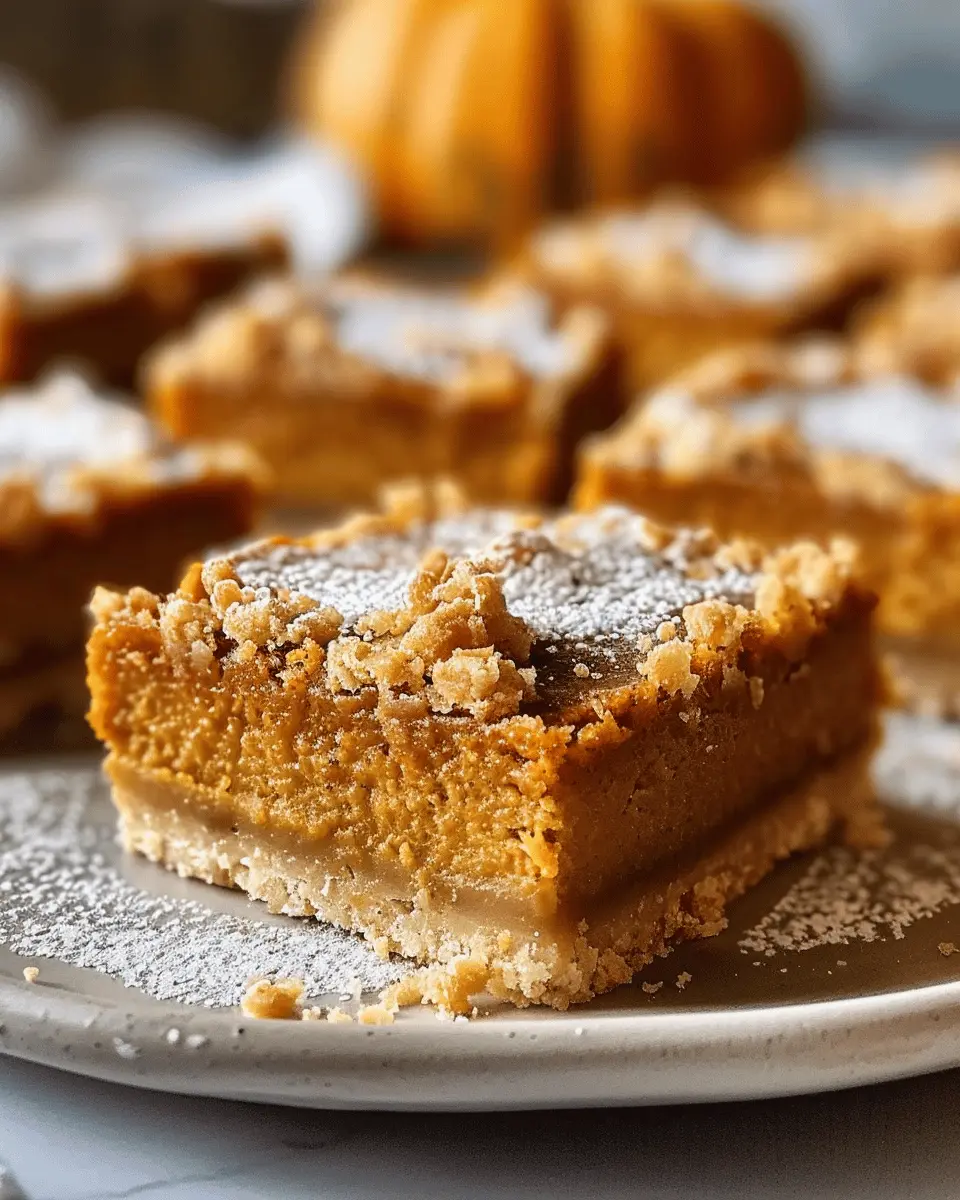
- After chilling for at least 2 hours, slice the bars into squares. You can serve them plain or top them with whipped cream to elevate the experience further.
Bite into your Pumpkin Pie Bars, and they’ll transport you to autumn bliss with each mouthful! Want to explore more seasonal desserts? Check out articles on sweet potato pie or apple crisp that also celebrate fall flavors.
Remember, these bars not only make a fantastic individual treat but can also serve as a crowd-pleaser at parties or family gatherings. Enjoy, and happy baking!
Variations on Pumpkin Pie Bars
Pumpkin Pie Bars with a Twist
While the classic Pumpkin Pie Bars recipe is undeniably delicious, feel free to mix it up! Adding unique flavors can transform your bars and impress your friends. Consider incorporating:
- Spice Variations: Swap out traditional pumpkin pie spices for a hint of cardamom or anise to surprise your palate.
- Nutty Crunch: Stir in some chopped pecans or walnuts for added texture. This not only enhances the flavor but also gives a satisfying bite.
- Drizzle of Chocolate: A light drizzle of dark chocolate on top creates an indulgent contrast, balancing sweetness with rich flavors.
Gluten-Free Pumpkin Pie Bars
For those navigating gluten sensitivities, you can still enjoy Pumpkin Pie Bars without compromising taste! Use gluten-free flour or almond flour as an alternative to the regular flour in your crust. Both options provide a delightful texture without sacrificing flavor.
Consider checking out resources from the Gluten Intolerance Group for tips on getting top-notch gluten-free results. A little experimentation with alternatives can lead to incredible outcomes.
Vegan Pumpkin Pie Bars
Going plant-based doesn’t mean leaving out your favorite fall flavors! To make delightful vegan Pumpkin Pie Bars, simple swaps do the trick:
- Egg Replacement: Use flaxseed meal or applesauce in place of eggs; both work wonders in providing structure.
- Dairy-Free Alternatives: Opt for coconut milk or almond milk for the filling. Not only are they dairy-free, but they also contribute a light and creamy texture.
Be sure to explore various options and find what suits your taste best. Baking can be a fun journey of flavor exploration!
Cooking tips and notes for Pumpkin Pie Bars
Key tips for perfect crust
Creating a flaky, buttery crust can elevate your Pumpkin Pie Bars to the next level. Here are some tips to achieve that perfection:
- Chill your ingredients: Use cold butter and chill your dough for at least 30 minutes. This step helps maintain the flakiness.
- Don’t overwork the dough: Mix until just combined. Over-kneading can lead to a tough texture.
- Use pie weights: If you’re pre-baking, consider using pie weights or dry beans to keep the crust from puffing up.
For more in-depth crust techniques, check out this perfect pie crust guide.
Storing and freezing tips
Once your Pumpkin Pie Bars are baked, they deserve the best care!
- Storing: Keep them in an airtight container in the refrigerator for up to a week.
- Freezing: Slice the bars and wrap them individually in plastic wrap, then place them in a freezer-safe bag. They can last up to three months! Just thaw overnight in the fridge before enjoying.
With these tips, your Pumpkin Pie Bars will be a hit every time!
Serving Suggestions for Pumpkin Pie Bars
Ideal Pairings with Whipped Cream
Pumpkin Pie Bars are deliciously versatile, and they shine even brighter when accompanied by a dollop of luscious whipped cream. To take it a notch higher, consider topping your bars with:
- Cinnamon Whipped Cream: A simple mix of whipped cream and a dusting of cinnamon gives your dessert an extra spicy kick.
- Caramel Drizzle: Drizzling a bit of caramel over the top not only enhances the flavor but adds an enticing visual appeal.
- Chopped Nuts: Sprinkle some toasted pecans or walnuts for a delightful crunch that complements the smooth texture of the bars.
Want to go beyond the whipped cream? Try pairing your Pumpkin Pie Bars with a cup of hot apple cider or a rich coffee blend for a seasonal twist.
Serving at Gatherings and Parties
When it’s time for a festive gathering, Pumpkin Pie Bars can be a real crowd-pleaser. They’re easy to cut, serve, and eat, making them perfect for parties. Consider presenting them on a festive platter, along with some seasonal fruits like pomegranates or apples for a beautiful autumn display.
You might even set up a fun “dessert bar” where guests can customize their bars with various toppings. This playful approach encourages mingling and adds a personal touch to your gathering. Plus, who doesn’t love a little creativity with their desserts?
For more engaging party tips, explore sources like The Spruce Eats for inspiration on hosting the perfect autumn get-together.
So next time you make these delightful bars, consider how you can enhance the experience for both you and your guests!
Time breakdown for Pumpkin Pie Bars
When you’re ready to whip up some pumpkin pie bars, knowing how much time to set aside can make all the difference. Here’s a quick guide to help you plan your baking adventure!
Preparation time
You’ll need about 15-20 minutes to gather your ingredients and get everything mixed together. This includes making the crust and filling.
Baking time
Once your mixture is ready, pop the pumpkin pie bars into the oven for 30-35 minutes. Keep an eye on them; a little extra time can make all the difference in achieving that perfect texture!
Chilling time
After baking, allow your pumpkin pie bars to cool at room temperature for 2 hours. For the best experience, chill them in the fridge for an additional 2-3 hours, allowing the flavors to mingle beautifully.
Total time
In total, you’re looking at around 4-5 hours before you can indulge in these heavenly treats—well worth the wait for that first bite!
For more tips on baking times and techniques, I recommend checking out resources like Serious Eats and King Arthur Baking for expert advice. Happy baking!
Nutritional Facts for Pumpkin Pie Bars
If you’re diving into the delicious world of Pumpkin Pie Bars, knowing their nutritional profile can help you enjoy them mindfully. Here’s a quick overview of what’s in these treats:
Calories
A typical serving of Pumpkin Pie Bars averages around 180 calories. While they’re a delightful dessert option, being aware of the calorie content can guide you on portion sizes, especially if you’re watching your intake.
Sugar Content
These bars typically contain about 12 grams of sugar per serving. Opt for a recipe that uses natural sweeteners or reduce the sugar to ensure they fit better into your dietary preferences and lifestyle.
Dietary Fiber
In terms of fiber, you can expect around 3 grams per serving. This is great news, as adding fiber-rich foods to your diet is linked to improved digestion and can help keep you feeling full longer.
Looking for more health tips? Check out the CDC’s guidelines on dietary fiber for a deeper understanding. Enjoy your Pumpkin Pie Bars while keeping these facts in mind, and indulge in a treat that’s both satisfying and nourishing!
FAQ about Pumpkin Pie Bars
Can I make these bars ahead of time?
Absolutely! These Pumpkin Pie Bars are a fantastic make-ahead dessert. In fact, they often taste even better after a day or two in the fridge, as the flavors have time to meld together beautifully. You can prepare the crust and filling a day in advance, then bake them just before serving for a delightful treat. Just be mindful to let them cool completely before storing—trust me, the wait is worth it!
What’s the best way to store leftovers?
To keep your Pumpkin Pie Bars fresh, store leftovers in an airtight container in the refrigerator. They should last for about 3 to 5 days. If you’re looking to save them for longer, consider freezing the bars. Just wrap them in plastic wrap and then aluminum foil, or use a freezer-safe container. They’ll maintain their delicious flavor for up to three months. When you’re ready to enjoy, let them thaw in the fridge overnight.
Can I substitute ingredients?
Definitely! Customizing your Pumpkin Pie Bars is easy. Here are a few substitutions to consider:
- Sugar: Use coconut sugar or maple syrup for a healthier alternative.
- Dairy: Almond or oat milk can replace cow’s milk if you’re going dairy-free.
- Spices: Feel free to adjust the spice blend to match your taste; a pinch of nutmeg or ginger can add a nice touch.
Experimenting with ingredients makes the recipe your own, so don’t be afraid to get creative! For more tips on ingredient substitutions, check out this helpful resource on cooking modifications.
Making Pumpkin Pie Bars can be an enjoyable experience, and with these tips, you’ll be well on your way to hosting your next autumn gathering!
Conclusion on Pumpkin Pie Bars
Final thoughts on making and enjoying Pumpkin Pie Bars
As you roll up your sleeves to create these delicious Pumpkin Pie Bars, remember that baking is not just about the outcome but the joy it brings. Sharing these bars with friends and family can transform an ordinary gathering into a memorable celebration. With their creamy filling and buttery crust, they are perfect for any dessert table or cozy evening at home.
Don’t hesitate to experiment with spices or toppings to make the recipe your own! For more inspiration, consider checking out this informative guide on seasonal desserts that can elevate your baking game. So, go ahead and enjoy the essence of fall with each delightful bite of your homemade Pumpkin Pie Bars!
PrintPumpkin Pie Bars: Indulgent Fall Treats You’ll Love to Make
Delight in the flavors of autumn with these delicious Pumpkin Pie Bars, perfect for any fall gathering.
- Prep Time: 15 minutes
- Cook Time: 30 minutes
- Total Time: 45 minutes
- Yield: 12 servings 1x
- Category: Dessert
- Method: Baking
- Cuisine: American
- Diet: Vegetarian
Ingredients
- 1 cup all-purpose flour
- 1 cup pumpkin puree
- 3/4 cup granulated sugar
- 1/2 cup brown sugar
- 1/2 cup butter, melted
- 2 large eggs
- 1 tsp vanilla extract
- 2 tsp pumpkin pie spice
- 1/2 tsp salt
Instructions
- Preheat your oven to 350°F (175°C).
- In a bowl, combine the flour, granulated sugar, brown sugar, and salt.
- Add in the melted butter, eggs, pumpkin puree, vanilla extract, and pumpkin pie spice. Mix until well combined.
- Pour the mixture into a greased baking dish.
- Bake for 25-30 minutes or until a toothpick comes out clean.
- Let cool and cut into bars.
Notes
- These bars pair wonderfully with whipped cream.
- For added flavor, consider adding nuts or chocolate chips.
Nutrition
- Serving Size: 1 bar
- Calories: 150
- Sugar: 12g
- Sodium: 90mg
- Fat: 6g
- Saturated Fat: 3g
- Unsaturated Fat: 2g
- Trans Fat: 0g
- Carbohydrates: 22g
- Fiber: 1g
- Protein: 2g
- Cholesterol: 35mg
Keywords: Pumpkin Pie Bars, Fall Treats, Pumpkin Recipes